Welcome to the Ambient Method! This is a text write-up of the video I made for what I call The Ambient Method of making comics.
This post is more like an outline, the video walks you through it a bit more. To get a really in-depth write-up of this technique, please sign up for my mailing list (all the way at the bottom of this page) and you’ll get a free pdf of the first part of my upcoming course on 3D comics with Daz Studio, Blender and other programs.
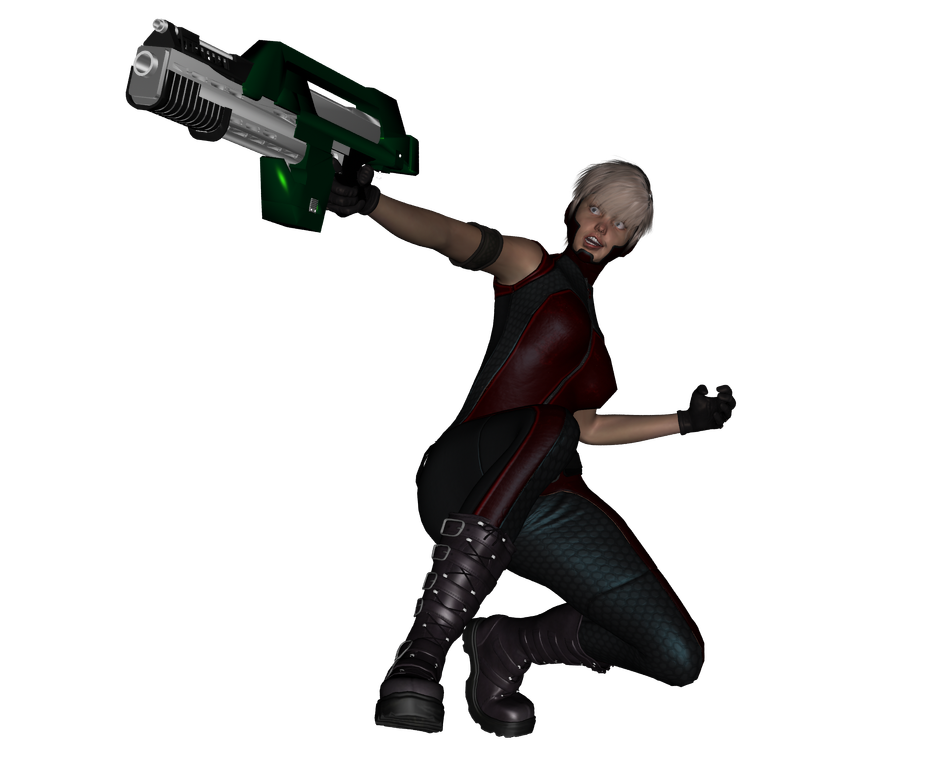
The difference between the video and the pdf is that the pdf file is meant to be followed exactly by the artist. I use a basic Genesis figure for the example. It’s not that exciting, but at least that way I know for certain that everyone has access to that model and can follow exactly what’s being laid out in the pdf. For the video, I wanted something more visually appealing, but not everyone will have those props to follow along exactly.
Also, there are a few more tips and explanations in the pdf that I didn’t have time for in the video, which was already 1-hour long.
Finally, you can download the final Photoshop file that I used in the video to play around with, which will also contain a few more shadow renders, plus some halftone patterns and genesis textures I used as well (the base textures I used as templates aren’t included to avoid violating any artist’s licenses). Click below to download the PSD files:
Download Ambient Method PSD and extra texture files
Don’t worry if you don’t have Photoshop. The free GIMP image editor will also open Photoshop files, so you can still play around with it.
The Ambient Method
Before we do anything, you should make sure you’re using the older “3Delight” rendering engine, and NOT the newer iRay renderer. The reason for this is that the iRay renderer is physically accurate and built for realism, which is counter to our purpose here – we’re trying to make a comic illustration.
You can confirm your render engine by going to your Render Settings tab, and making sure “3Delight” is chosen in the Engine drop-down.

With this done, our first step is to apply the correct shader. In the video I do this for a couple of items, then I time lapse the rest to save time.
STEP 1: Change Shader & Surfaces To Use Ambient Channel
First, here’s the base render using the daz default shader with default textures.
It’s super flat and un-comic looking. Let’s get started changing that.
Select the figure in the Scene tab, then select all the surfaces in the Surfaces tab on the right as well.
At the top of that Surfaces pane if the shader is showing as “Multiple”, this is because the prop or figure came with 2 or more shaders applied. The Genesis figure comes with both the “UberSurface shader”, which is the one we want, and the Daz Default shader, which we want to change.
To change the surfaces to the uberSurface shader, select all of the surfaces (that aren’t already using UberSurface), then go over to the Content Library tab on the left.
In here, the best thing to do is to simply type “uberSurface” into the search field. It’s icon will show up in your results looking like a red tea kettle. Double click the icon while you have both the NODE in the scene tab selected, and the specific SURFACES you want to affect selected as well. They both have to be selected or it won’t work.
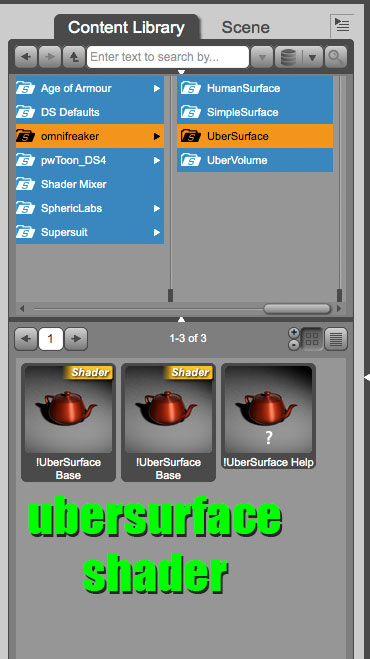
After doing this you should be able to confirm at the top of the Surfaces panel that the new shader is applied.
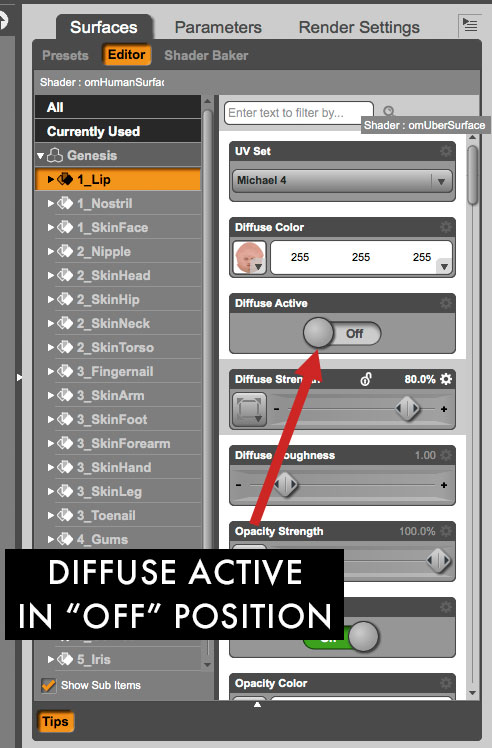
STEP 2:Turn Off Any Channels That We Don’t Need
This should be ALL of the others except Ambient and Opacity. As a general rule, you’ll want to leave opacity alone.
Go down the list of channels and make sure everything else is off by clicking the green buttons for each channel.
STEP 3: Remove Any Unnecessary Textures
Also, turn down any values you don’t want to see in the viewport, such as Diffuse and Specular values.
Getting rid of the textures just makes things load and render faster – less work for Daz to keep up with all that stuff. As a rule, I try to use only color for my scenes, but sometimes color just won’t cut it.
If you have to use a texture try to use one as “flat” as possible, meaning without shading information or gradients, etc. That can interfere with the lighting and muddy up the characters/props.
Add any textures you really need to the ambient channel. Ambient textures won’t show in the viewport, unfortunately. Only the color you choose for the ambient channel will show up.
STEP 4: Add Any Texture You Want To See In The Viewport To The Diffuse Channel
But if we need to see the texture in the viewport, we can. Because we’re using the UberSurface shader, we can safely add a texture to the diffuse channel so we can see it, yet turn that channel completely OFF so it doesn’t render.
If we were using the Daz Default shader, I could turn the Diffuse down to 0, but the texture would still show up in the render and throw off my results.
Make a render, and it should be completely flat like the below image:
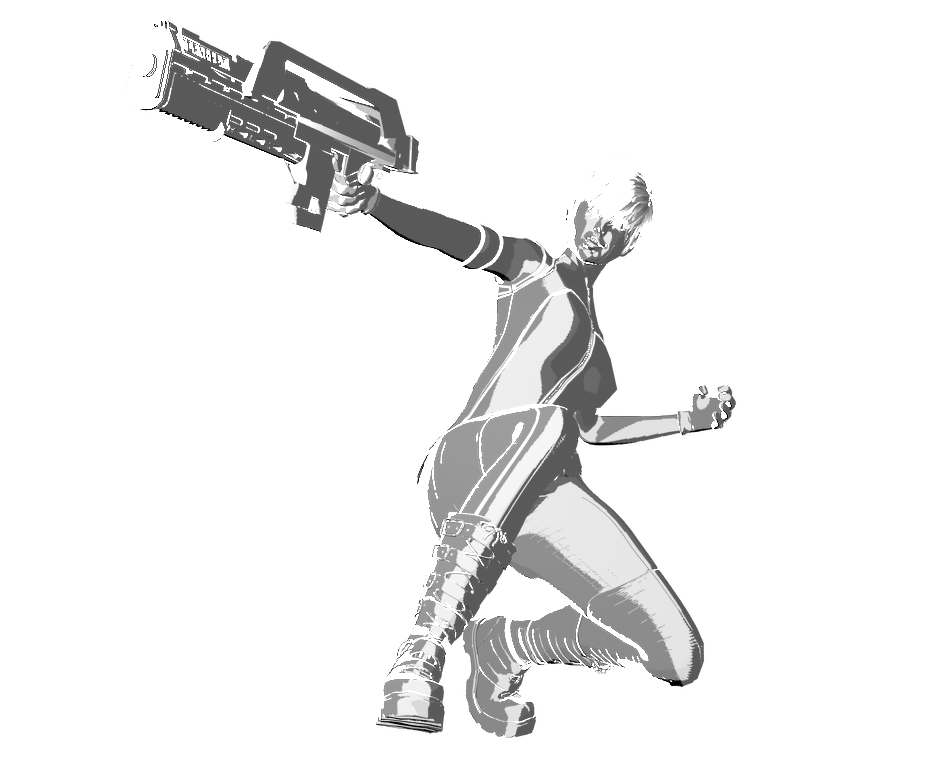
STEP 5: Shading – The Shadow Render
In what I call the “shadow file”, we’re going to add in the modeling (and by “modeling” I mean light modeling, not mesh modeling). We’re going to flesh out the shapes and add some much needed depth to this image.
Select everything in the scene. First get all the nodes in the scene tab selected, then we’ll need to select all the surfaces in the Surfaces tab.
With all these selected, to get our shadows we’re going to use the Specular channel. That means we’re going to turn that one back on, and turn the rest completely off…EXCEPT for the opacity as usual.
After everything but specular is off, now it’s time to set up the Specular channel. First set it’s color to white, then crank strength to 100, set the glossiness down to zero, and set the sharpness all the way to 100.
STEP 6: Add In Distant Lights
Add in a few of these distant lights and rotate them around to get some good modeling of the characters and props in your scene. Adjust the intensity of the lights for variety.
STEP 7: Add In Bump Maps For Texture.
We can punch up the variety and impact of the shadow render by adding bump maps to break up the shadows and give them some “tooth”.
I usually use some very basic halftone lines or crosshatch files for this effect. If you don’t have anything, download the Photoshop archive at the top of this page, as it has a few files I made in Photoshop just for this purpose.
Do another render and check your results. I might do many of these renders, sometimes over 10 of them with different shadows, then test them out in Photoshop.
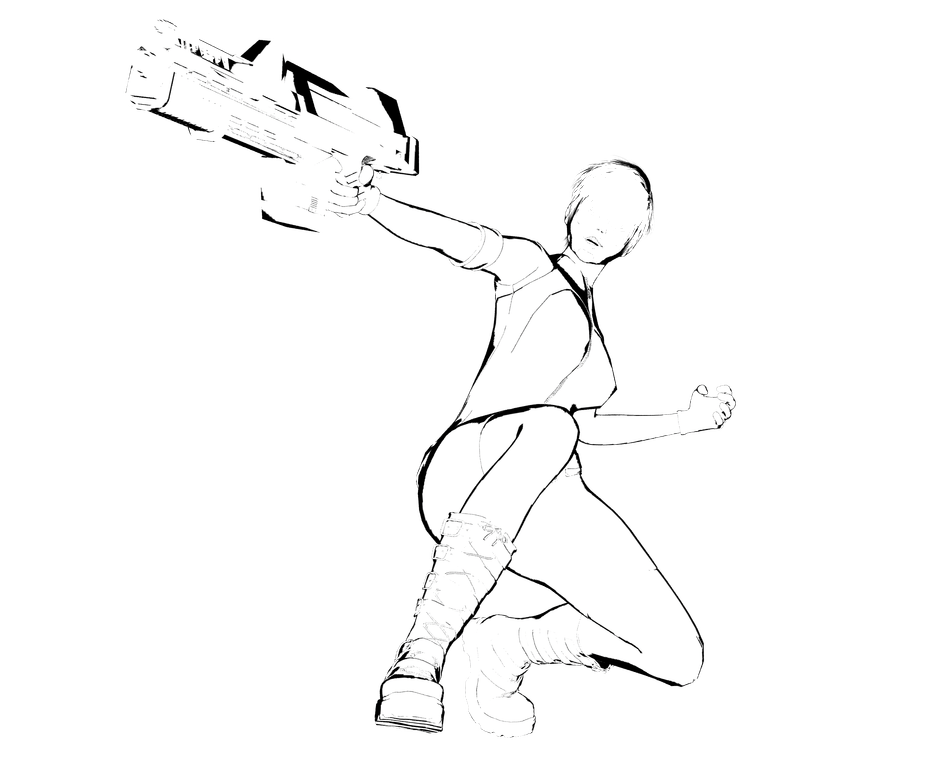
STEP 8: (Super) Basic Linework With Cartoon Mode
If you just need some down & dirty lines for free, we can do that by using Daz’s cartoon renderer to hopefully give us some lines we can work with.
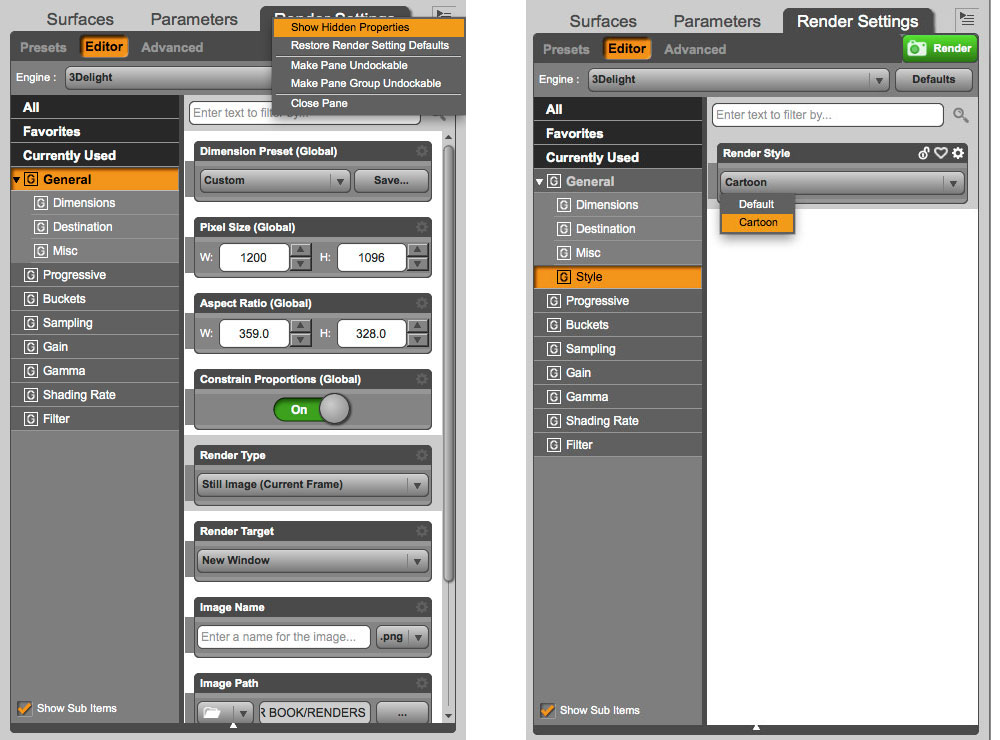
To activate cartoon mode we have to go to our Render Settings tab, and in the flyout menu on the right, we have to select “Show Hidden Properties”. This is going to make the Style heading visible under the General section of the 3Delight renderer.
Once in Style pane, change the Render Style on the right from Default to Cartoon. So that part is simple enough, but we’re not done.
Unfortunately the Daz cartoon renderer doesn’t work well with other shaders, it only really plays nice with the default Daz shader. We’ll have to revert the shader to the Daz default shader, and we’ll use a Shader Preset to do it.
STEP 9: Save Shader Preset
Go to Create > New Primitive… from the top menu. In the dialogue that pops up, it doesn’t really matter it’s size or where it is, so just accept.
When it appears in the scene I’ll select it, and confirm over in the surfaces tab that it is using the Daz default shader. With both node and a surface selected, you can save a Shader Preset.
Choose File > Save As > Shader Preset… from the top menu. I saved it into the scripts folder of my Daz Content directory.
In the Shader Preset Save Options box that appears, uncheck Opacity and hit OK. This will spare us from having to re-apply any opacity maps later
Once it saves, load it into Daz by going to your content tab, and then choosing Scan Known Directories for Files… from the flyout menu on the right. This will make Daz look for anything new and add it to it’s database. This can take a bit if you have a lot of files and directories.
Now with the Nodes AND Surfaces selected, jump over to the Content Library tab and find the daz default shader you just created, and double click it.
Immediately in the viewport everything is back to a default state, looking gray and featureless. Confirm in the Surfaces tab that the Daz default shader is applied.
STEP 10: Adjust Surfaces For Cartoon Lines
Next, select all surfaces, turn the diffuse and specular all the way down, and the ambient all the way up, with the ambient color set to white. Everything in the viewport should be white now.
Finally, get rid of all the lights because they’ll be useless now, and hit render.
The lines will likely not be ideal, but we get something. You don’t have a lot of control over this, and sometimes when you have walls and floors it can come out completely black. This is a consequence of how the Daz cartoon shader draws it’s outlines. Anything about 70 degrees angled to the camera and above ends up getting shaded black. If this happens your only recourse is to delete or hide the black object.
STEP 11: Compositing In Photoshop Or Gimp
There are 3 layers here, ambient, shadow and line layers. To combine them together, I’m just going to change the Blend Modes in the Layers panel.
Set the shadow layer Color Burn to start. Play around with the blend modes until you get what you want. I usually test with Color Burn, Multiply and Linear Burn to start with.
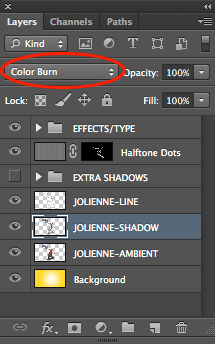
For the line layer, set this one to Multiply or Linear Burn. Linear Burn seems to give richer blacks but it also fills in more, so again make sure to test.
STEP 12: Halftone (Optional)
Often I’ll try to just add a little more style to a comic by throwing in some halftone pattern.
First, make a new layer and fill it with white. Then, making sure my foreground and background color are black and white, I’ll go back to the Halftone effect in my Photoshop filter gallery. In here I’ll change it from Line to Dot, and click OK. This will fill the layer with the halftone pattern.
Then I’ll add a Layer Mask to hide it. So I’ll look down at the bottom of the layer palette and fine the Layer Mask button. I’ll OPTION-click (alt-click, pc) which will HIDE the layer by filling the layer mask with black.
Next, set the layer to the Overlay blend mode, switch the tool to a brush, and simply brush in the halftone where you want it to go. I know there are some cartoon and line plugins that offer halftone effects right in Daz, but I always recommend you do it this way because you have a lot more control over where the effect shows up and how intense it is.
However, I don’t recommend you always use this canned Photoshop effect. Most of the time it comes out looking like tiny squares instead of the tiny round dots I would expect. For that reason, I usually search on the web for free halftone patterns or halftone photoshop brushes. Those usually look a little better.
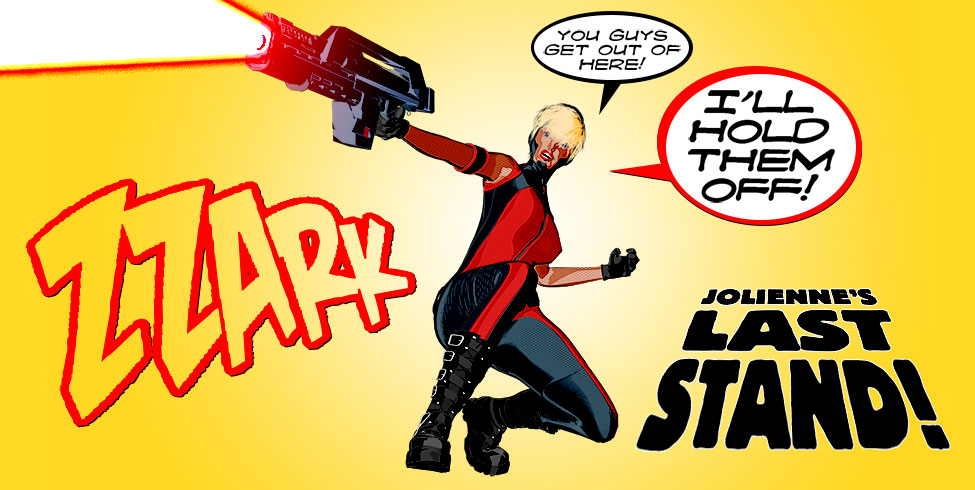
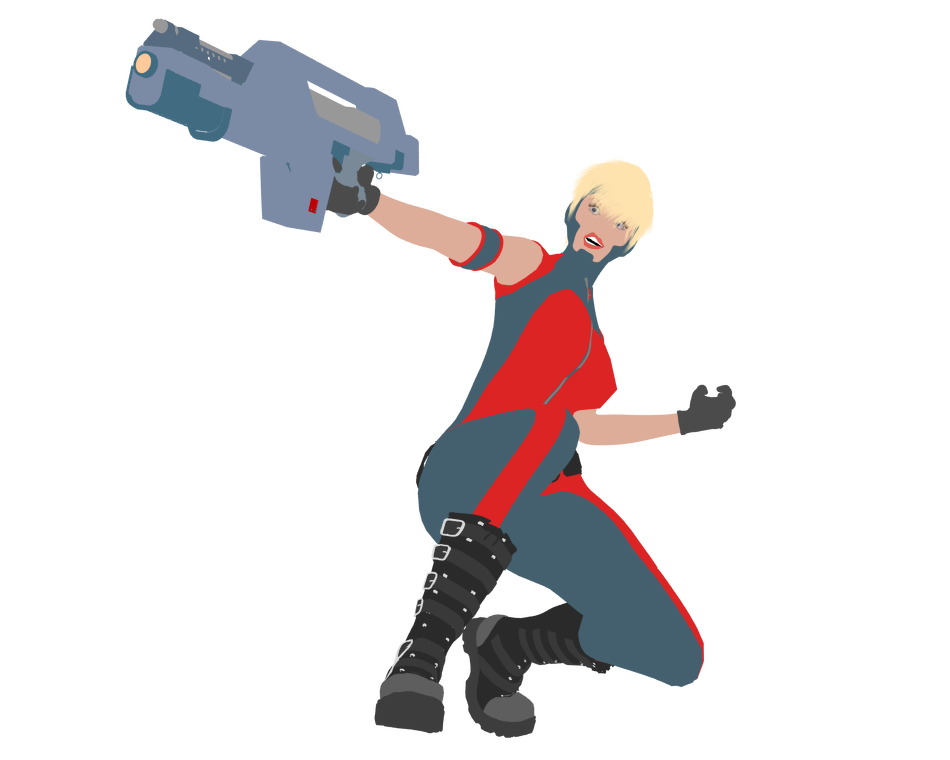
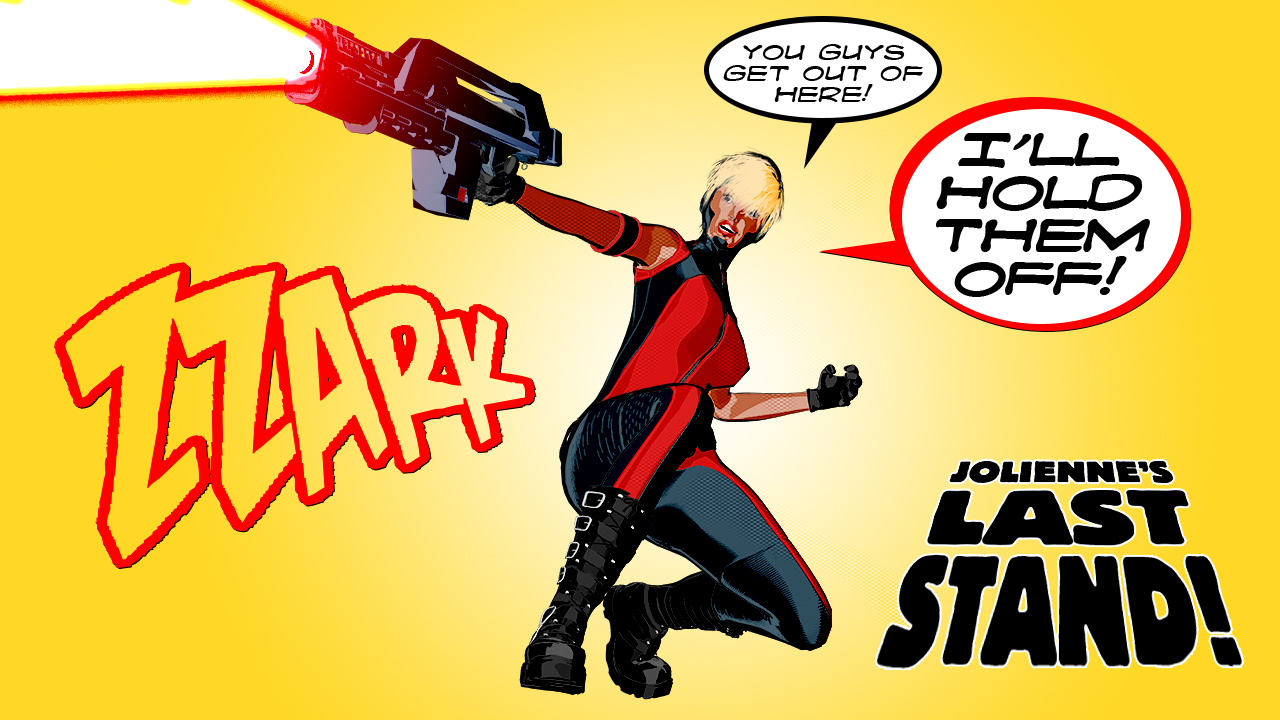
And anyway here’s the final image!
STEP 13: Don’t Do Text In Photoshop/Gimp
I made this text in Photoshop, so don’t do what I did. Trust me.
Dealing with text in Photoshop is always a hassle, and making the balloons nice and sharp is also a pain in the behind. You need to use the vector shapes to pull that off, and Photoshop seems to go out of it’s way to make them clunky and annoying.
Besides, the pros use Illustrator for lettering, and even if you can’t afford Illustrator (or just don’t want to buy into Adobe’s ecosystem) you can use the free Inkscape vector app, which does most of the things Illustrator does, but not quite as polished.
So to recap:
- In Daz we changed our shader and set our textures and surfaces to use the ambient channel.
- Then, we moved on to using the specular channel to make our shadows.
- Next, we made some basic lines using the Daz built-in cartoon renderer.
- And at last, we combined it all in Photoshop
If you make something using this method I’d like to see it, so please leave your link for me and others to see.
Let me know of any questions you have in the comments section and I’ll try to get back with you as soon as I can, and please sign up for my mailing list below to be alerted to updates on when my full course is coming out. Catch you later!